

Figure out which types of seeds you would like to plant. You will need to consider the needs of each plant and determine if you have a suitable environment for the seeds to flourish into beautiful plants.
If it’s your first time planting, we recommend starting off with seeds that plant easily indoors.
Here are a couple that we recommend:
Marigold Flowers – These flowers offer a variety of yellow, orange and red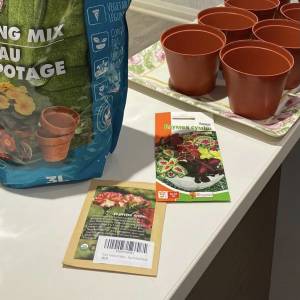 flowers. They are great plants to grow indoors and can be transferred to an outdoor garden after 12 weeks if you desire. Marigold’s can also attract pollinators and deter pest.
Coleus Plants – Come in a variety of colors and look great along the borders of your garden. These plants often prefer shade so they are the perfect seed to start if you don’t have an abundance of sunlight.
Zinnia Flowers – Come in a variety of colors from pinks and purples to yellow and orange hues. These beautiful flowers can closely resemble daisies or dahlias. These flowers are great if you would like to have a full garden as they germinate quickly and can produce many flowers from a single packet of seeds.
In our planting project we decided to start with Coleus andCarnations! Whichever seeds you decide to grow, its important that you learn everything you need to know about the seeds and the flowers they will eventually grow to ensure your environment can provide them with everything they need to bloom successfully.
Check out this article for common seeding mistakes.

Gather the necessary supplies. You will need moist soil, planters, the seeds of you choosing, plastic wrap, paper towel, indoor plant fertilizer* and plant lights. Most seeds require moisture, warmth, sunlight, and nutrition to flourish. Paper towel and plastic wrap will help keep the soil moist for your new seeds. Some plants will require extra sunlight and warmth so having some fluorescent plant lamps can be helpful if you don’t have the warmest or sunniest environment. Be sure to read the requirements of each type of seed to determine its individual needs. When it comes to planters, you can go two ways depending on what your final purpose of the seeds are. If you are planning to keep your plants indoors or are interested in putting them on your balcony, it could be beneficial to plant them in grower pots that have drainage holes. If you are planning on transplanting them to an outdoor garden, it’s a good idea to plant them in compostable cardboard planters which will eventually compost in the soil and provide nutrients in the process. Speaking of nutrients, plant fertilizer can be crucial to seeds especially as they hit the 3-4 week mark, however if you are using fertilizer, you want to ensure you are using organic or *natural fertilizer to prevent chemical laded fertilizers from running into our water supply and potentially harming local wildlife. Great news is that you can even help your plants grow by using your kitchen compost like banana peels, eggs shells and ground coffee as natural fertilizer! These items all produce nutrients that are beneficial to new seeds.
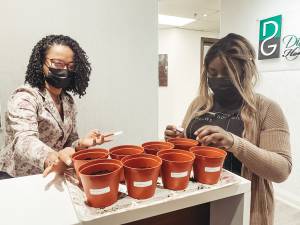
 Now that you have all of the necessary supplies, its time to get your
 hands dirty! Grab your planters, soil, and seeds! Begin by adding an even layer of soil at the bottom of your planters. Next sprinkle a couple of seeds into each planter. Be careful not to pour all seeds into one spot. A pro tip would be to mix seeds in sand so that they evenly distribute! The next step is very important and may vary depending on the seeds – add the top layer of soil. Most seeds will require a thin layer to max half an inch of soil covering the seeds. It’s better to plant the seeds closer to the top of the soil rather than towards the bottom of the soil as most seeds require sunlight to flourish. The further the seeds are from the sun the harder it is for them to bloom. Once you have the seeds planted, add a little bit of water to each planter. Pro Tip: We added some paper towel to ours to prevent overwatering but also to keep the soil moist. Once all of your seeds have been planted, depending on the seeds, use a plastic wrap, to help keep in moisture. When you first begin to notice green sprouts you can remove the plastic wrap. This usually happens about 3-4 weeks later depending on the seeds.
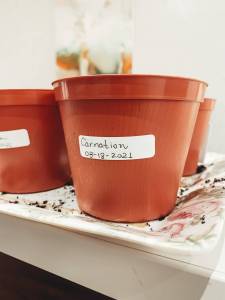
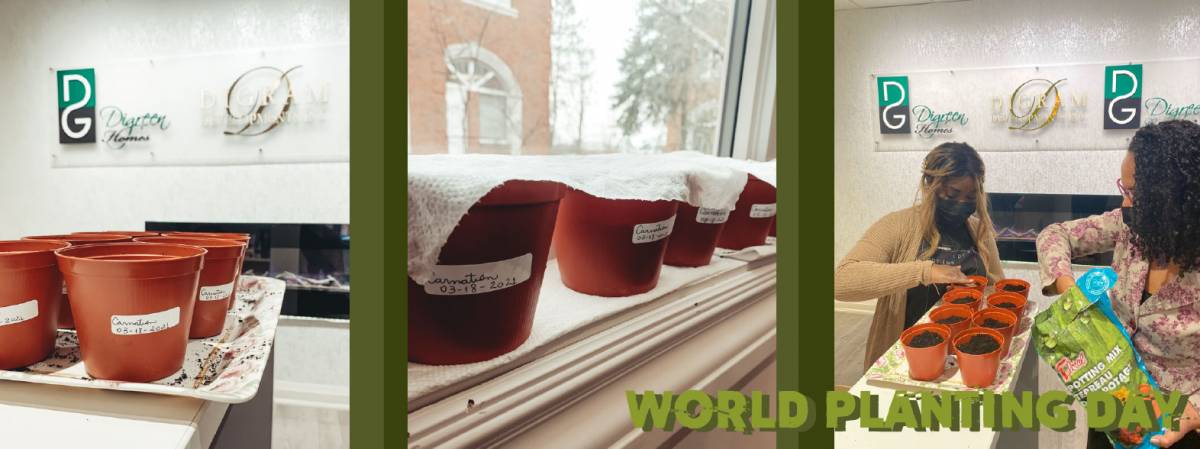
 The final step is to label your seeds. You will want to label what type of plant it is, as well as the date that you planted them to keep track of their development. Place them on your windowsill or somewhere they will get plenty of sun. Remember if you use fluorescent lights to turn off the
lights for at least 8 hours to resemble night which will give them a dark period to support their growth! This project was ultimately a fun experience and we are excited to see our new seedlings grow into beautiful plants. Happy Planting from the Digreen Team!